Delete Files Permanently
How To Use XetoWare File Shredder

There are many ways to shred your files with XetoWare File Shredder, and we are going to explorer the easiest and most efficient methods.
Main Method of Deleting Files

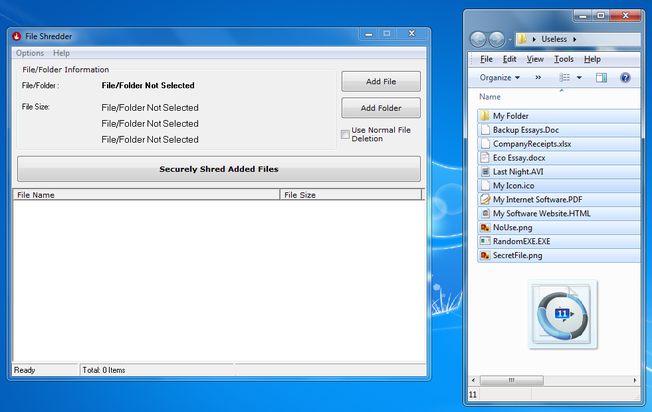
Dragging and Dropping
One of XetoWare's aims to provide software that is self-explaintory, and that's exactly how File Shredder is designed to work. To delete your desired items, firstly open File Shredder by double clicking the shortcut, shown on the left, on your desktop or by accessing it in the 'Program Files'.
One of XetoWare's aims to provide software that is self-explaintory, and that's exactly how File Shredder is designed to work. To delete your desired items, firstly open File Shredder by double clicking the shortcut, shown on the left, on your desktop or by accessing it in the 'Program Files'.
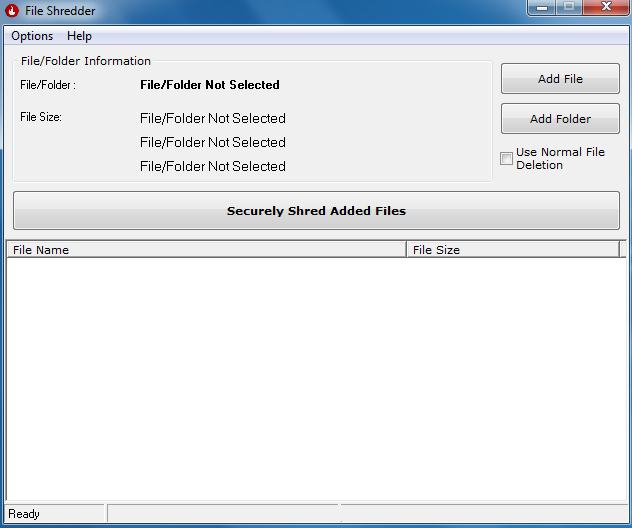
After opening File Shredder, you should see it's user interface above. Your next step is to drag your files or folders in to the file list.
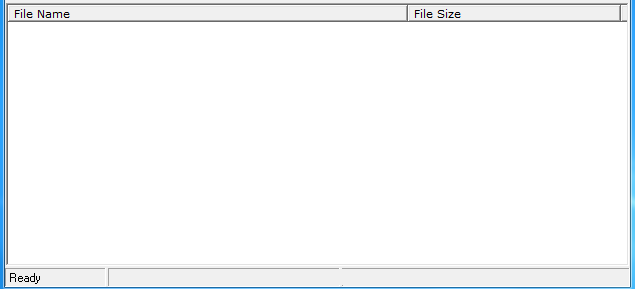
The File List (Above)
Select the files you want to delete and drag them.
After dragging them over to the file list, drop them.
Now that you have added your desired items to the file list, you can select the mode of deletion as either:
- Permanent File Deletion
- Normal File Deletion

If you want to permanently delete your files, you are going to have to un-check 'Use Normal File Deletion', if you want to just normally delete your files (faster, but recoverable), check 'Use Normal File Deletion'
Depending on which mode you choose, finally click the button to delete your files!

- If you selected to use the permanent file deletion mode, then the delete button would look as above.
- If you have selected the normal file deletion mode, the delete button would look similar to the button below.

A deletion conformation, as shown below, would come up, making sure you don't accidentally shred your files.
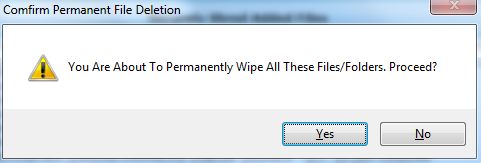
Click 'Yes' to delete or click 'No' to cancel file deletion
File Shredder normally deletes big files extremely fast however when there is a huge number of files, it can take a minute or two. When mass deleting, a progress dialogbox, similar to the Windows Delete, is shown.
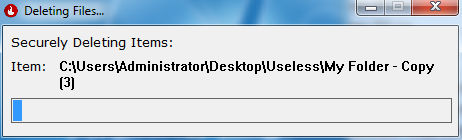
The dialogbox above gives you a similar look and feel to the deleting files in Windows
When the progressbox, above, closes and your file list is empty your files are successfully deleted! Congratulations!
Visual Features of File Shredder

This part of the article is to explore the features of XetoWare File Shredder. Firstly, let's take a look at the information pane.
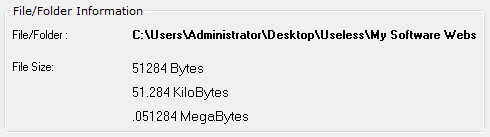
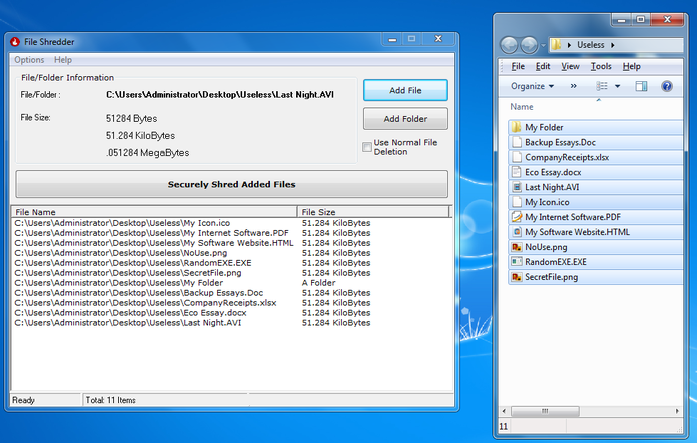
The information pane, above, details the full path and size of the selected file in bytes, kilobytes and megabytes.
When you drag and drop files in to the file list and select one of them, their file information is displayed on the information pane, above. This allows you to get a closer look at the files you are deleting.
The File List
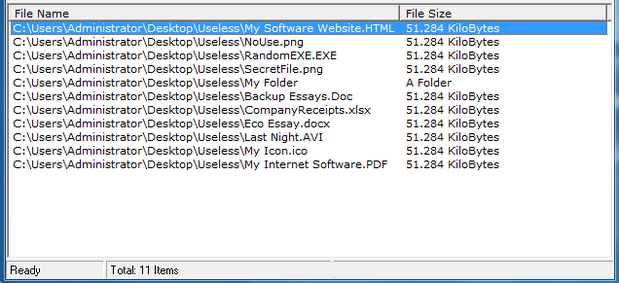
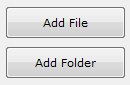
Pretty self-explaintory, the file list is the list of files that you have added to delete. As you can see from above, the file list displays the file path and the file size with the total number of files and folders on the bottom. You can add files to the file list by dragging and dropping, by far, the easiest method or by manually clicking the 'Add File' or 'Add Folder' buttonm shown below.
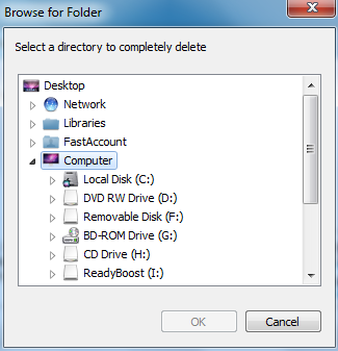
This is not a recommended method to add files as you can only add one item at a time. Nevertheless, if you click on 'Add Folder' a dialogbox similar to the one below will popup. Select your folder and click 'OK'. The similar process goes with adding files.
Next up, is the file deletion mode checkbox. This is a vital feature as it determines the way your files are deleted.
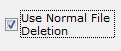
If you check this option then your delete button would become 'Normally Delete Added Files', if you uncheck it your delete button will become 'Securely Shred Added Files'.

If you choose 'Securely Delete Added Files', your files will be shredded permanently with no chance of recovery (The main function of File Shredder)

If you choose to 'Normally Delete Added Files' then your files would be normally deleted. This mode is faster than securely shredding your files, but your files can definitely be recovered.
For your security, it is recommended to uncheck the checkbox.
For your security, it is recommended to uncheck the checkbox.
Troubleshooting / Common Errors
HELP I CAN'T INSTALL!
Installing is sometimes an issue, especially for file deleting software. The most common issues are:
Anti-Virus Conflicts
As File Shredder 'deletes' files, some anti-virus programs will detect it as a potential and will knowing or silently block it from running. Please be aware that File Shredder is 100% spyware free, scanned on virustotal.com, and more than ten software sites to be 100% clean.
To combat this issue, the best solution is to add an exception to File Shredder in your anti-virus settings, this will let File Shredder run alongside with your AV without any problems.
Another solution is to disable your AV, however this is definitely not recommended as your computer can be taken over by spyware and malware in the meantime. This option is just a plan B, in-case you cant use plan A.
Missing Runtimes (Also known as DLL or OCX errors)
This is not usually a problem, however some computers may have it. Here is how to combat it, and as File Shredder offers excellent customer support, listen carefully.
If you get an error of missing a DLL or OCX file, please contact us via Customer Support. Our team will find the missing DLL or OCX for you and email it to you with simple instructions on how to install it. Let us handle the nasty stuff!
HELP I CAN'T DELETE THAT FILE!
When you cannot delete a file or file(s), it is not the program's fault in any respect. The follow causes may be listed below:
Administrator Issues
You see some files require adminisrator priviledges to be modified, for Vistaand 7. To delete these files, right click on the shortcut on the desktop, go to 'compatibility' and click 'Run as Admin'. Now re-open File Shredder and delete them again.
Ownership Issues
The second cause may be that your file is owned by someone else, not you. If your file is owned by some other user, there is no way that you can delete that file, even with Windows Delete. To combat this error, take ownership of the file and then try to delete it again with File Shredder.
Please visit the link below on how to take ownership of another file.
How to take ownership of file/folder.
Read Only/File Attribute Issues
The last issue is that the file/folder is partially 'Read Only', File Shredder can delete read only folders, however, some folder attributes can only be changed manually! Just right-click and select properties on the items that are read only and uncheck the read-only file attribute.
More Support
If you have any problems that is not listed here, please contact us via Customer Support, we will always be there and we mean it!
